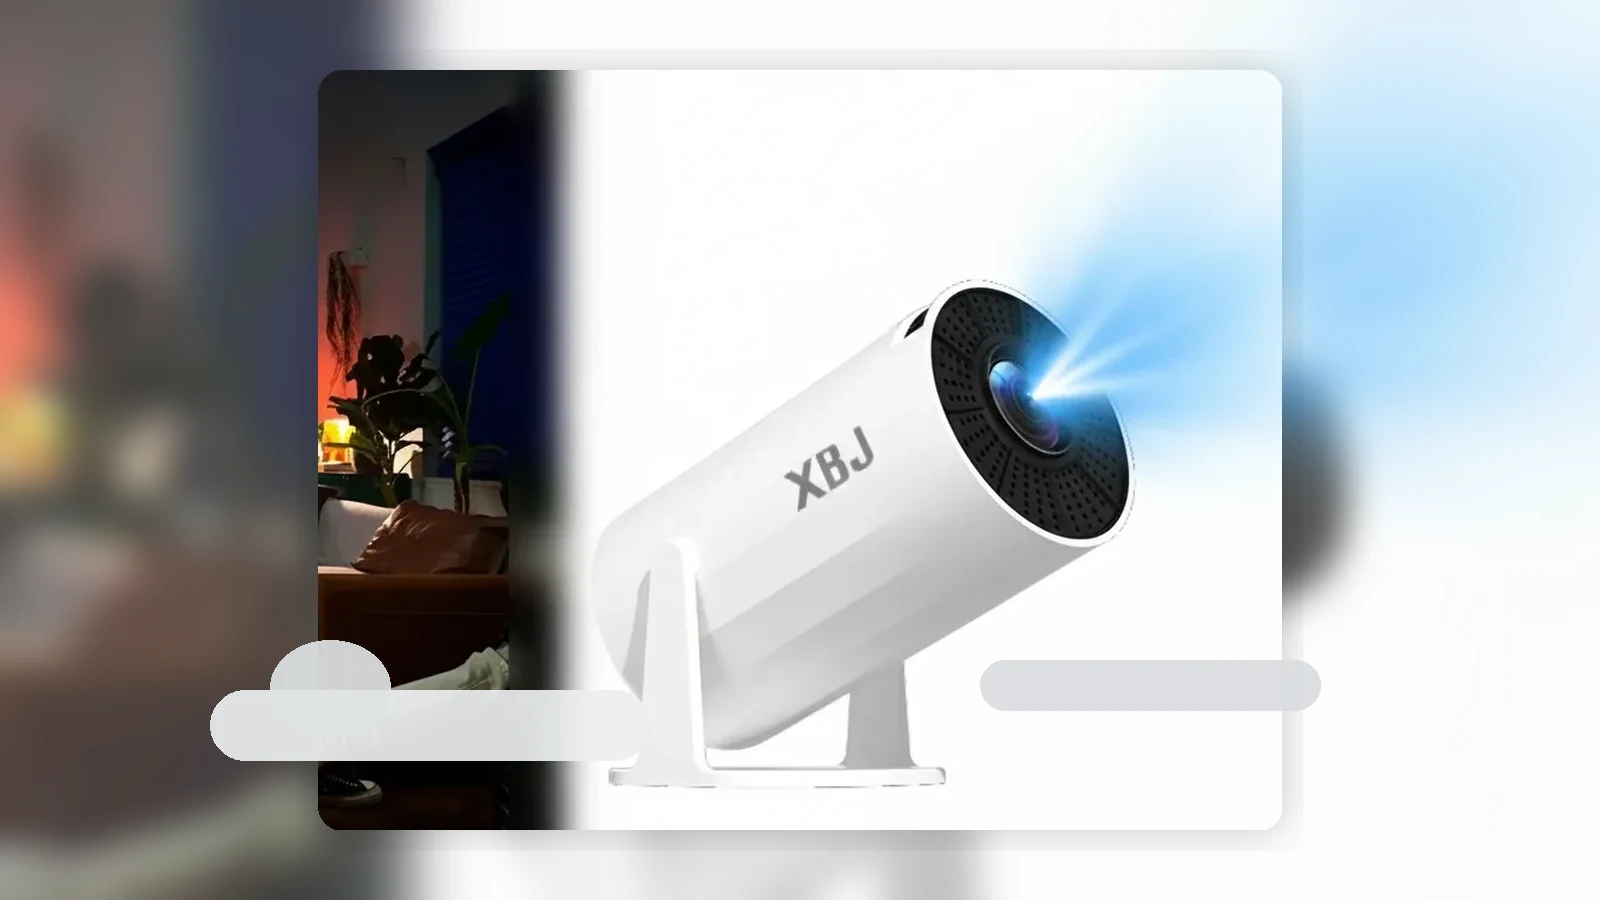
How to Clean a Projector Lens and Air Vents Safely
The safest way to clean a projector lens is to switch the projector off, unplug it, let it cool, remove loose dust gently, then wipe the lens only with a clean, dry lens cloth. For air vents, keep the cleaning external: lift dust from the outside grilles with a soft brush or gentle blower, without opening the projector or pushing debris inside.
That simple approach matters because projector lenses often have coatings, and the vents sit close to parts that should not be touched by a user. Cleaning can help with surface dust, fingerprints and blocked external vents, but it cannot fix internal dust marks, dead pixels, heat damage or image faults caused by the source device.
What to Prepare Before You Start
You do not need a complicated cleaning kit. A clean microfibre lens cloth, a small manual blower and a soft brush are enough for normal home maintenance. Keep a separate cloth for the lens if possible, rather than reusing a general household cloth that may hold grit.
Choose a clean, dry table with good light. Wash and dry your hands first, then remove watches or jewellery that might scratch the casing while you handle the projector. If the projector has been stored in a cold room, garage or car, let it return to room temperature before cleaning or switching it on. Sudden temperature changes can create condensation, and wiping a damp lens is a good way to smear it.
Avoid kitchen roll, tissues, abrasive cloths, household sprays and wet wipes. They may look soft, but they can leave fibres, residue or tiny scratches. If your projector's own manual gives a specific cleaning instruction, follow that guidance first.
Power Off, Unplug and Let It Cool
Before cleaning, turn the projector off properly and allow its fan cycle to finish if it has one. Then unplug the power cable and disconnect HDMI, USB, audio and other leads so you are not working around live cables.
Do not move straight from watching to cleaning. Projectors can retain heat around the lamp or LED engine, vents and casing. Wait until the casing feels cool and comfortable to touch. If your manual gives an exact cool-down period, use that as the rule. If it does not, patience is safer than rushing.
Place the projector on a stable surface, with the lens facing you and the vents visible. Good lighting helps you see whether you are dealing with dust, a fingerprint or a mark that may actually be inside the optical path.
How to Clean Projector Lens Dust and Smudges
Start with loose dust. Use a manual blower to move dust away from the lens surface without touching it. Hold the projector steady and use short, gentle puffs. The goal is to lift grit before any cloth touches the lens.
If a mark remains, use a clean, dry lens cloth. Wipe with light pressure in a small circular motion or from the centre outward. Do not scrub. If the mark does not move after a careful pass, stop and check the manufacturer's cleaning advice rather than increasing pressure.
Never spray liquid directly onto the lens or projector casing. Liquid can run into edges, buttons or ventilation openings. Also avoid alcohol or strong cleaners unless the projector manufacturer specifically recommends them for that lens coating. Many lens marks look worse after cleaning because the cloth has dragged residue across the glass, so use a fresh area of cloth for each pass.
If the image has a fixed dark spot that does not change after careful external lens cleaning, it may be internal dust or another image issue. That is not a user-cleaning job.
How to Clean External Air Vents
Air vents help the projector move heat away from the casing. Dust around the outside grilles can restrict airflow, so it is sensible to include them in light maintenance.
Keep the cleaning external. Use a soft brush to loosen dust from the vent surface, brushing away from the openings where possible. A manual blower can help move loose dust off the casing, but do not blast air hard into the vents. Strong airflow can push debris deeper inside.
If you use a small vacuum nearby, keep it at low power and slightly away from the grille rather than sealing it against the vent. The aim is to collect loose dust that has already been lifted, not to pull at internal parts. Do not insert cotton buds, tools, clips or cloth corners into vent slots.
Also check the area where the projector normally sits. Bedding, thick carpet, curtains and stacked objects can block vents during use. Cleaning the vents helps, but it is just as important to give the projector clear space when it is running.
FAQ
How often should I clean a projector lens?
Clean it only when you see dust, fingerprints or a visible image issue that appears to be on the lens. Routine light dusting is fine, but unnecessary wiping can create more risk than benefit.
Can I spray lens cleaner onto the projector lens?
No. Do not spray liquid directly onto the lens or casing. If your manufacturer allows a cleaning fluid, it should be used exactly as instructed, usually with liquid applied to a cloth rather than the projector.
Can I clean projector air vents with a vacuum?
You can collect loose dust near the outside vents carefully, but avoid strong suction sealed against the grille. Keep the cleaning external and do not insert tools into the vents.
Will cleaning fix blurry edges or dark spots?
Sometimes cleaning helps with surface smudges, but it will not fix placement blur, internal dust, dead pixels or heat damage. If the mark remains after safe external cleaning, stop troubleshooting the lens.